Longboard Buying Guide: Freeride
Freeride
Freeride longboarding as we know it is a relatively new discipline in the world of skateboarding.
Extras for Freeride
Covered in this Section (in order of importance)
Helmet and gloves are required. Kneepads if you plan on falling a lot!
Ideal bushing hardness corresponds to rider weight (mostly) and board setup.
Drop-through strips for drop-through decks and shock pads for drop-platforms!
Grip is good, therefore more grip is more good.
The more, the merrier.
1. Choosing Safety Equipment
Although it may be tempting to spend all your hard-earned cash on your fancy freeride setup, you have to make sure you also have enough of it left over to get yourself some solid protective equipment. We recommend that you have — at the very minimum — a helmet and gloves before you start practicing slides. A set of knee and elbow pads are also a good idea, but whether or not you choose to purchase them is up to you. (We’ve all got them around here and when we’re checking out new terrain we throw them on until we’re comfortable with the hill.)
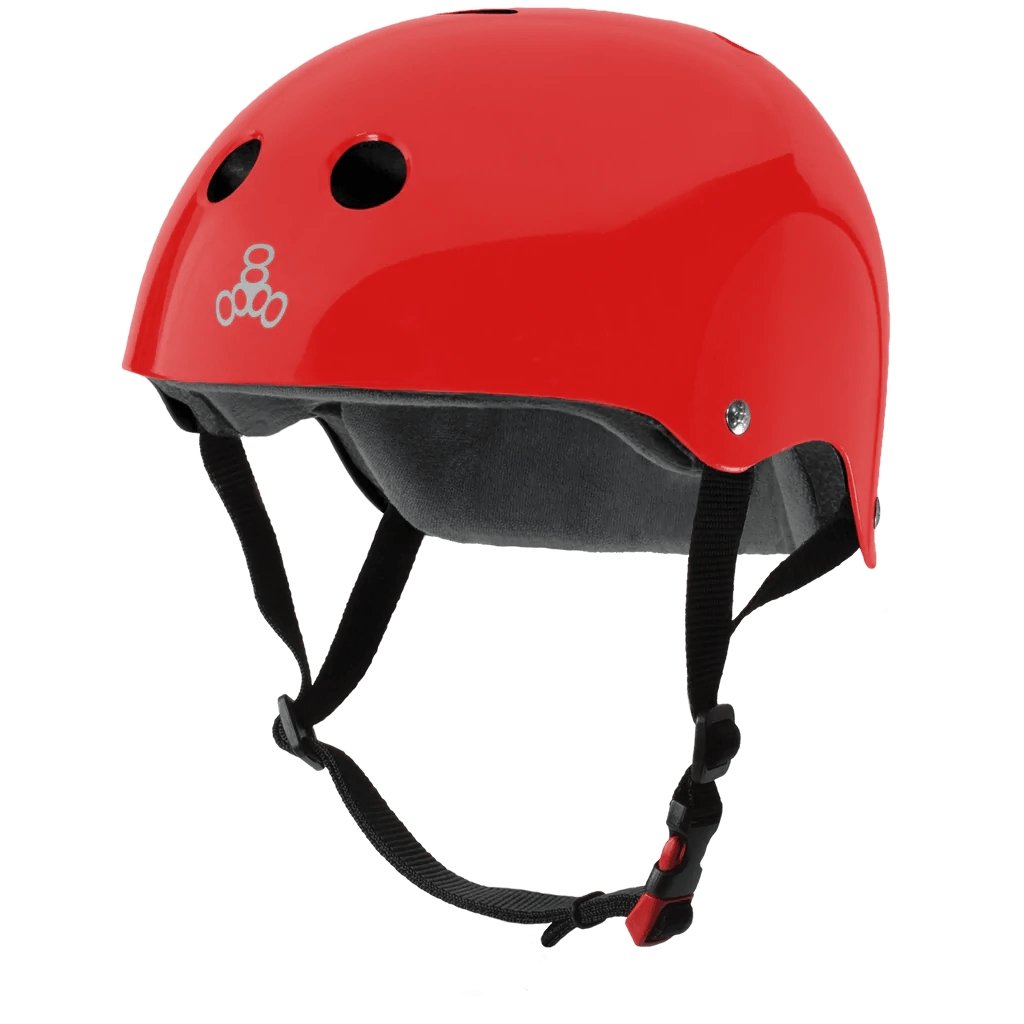
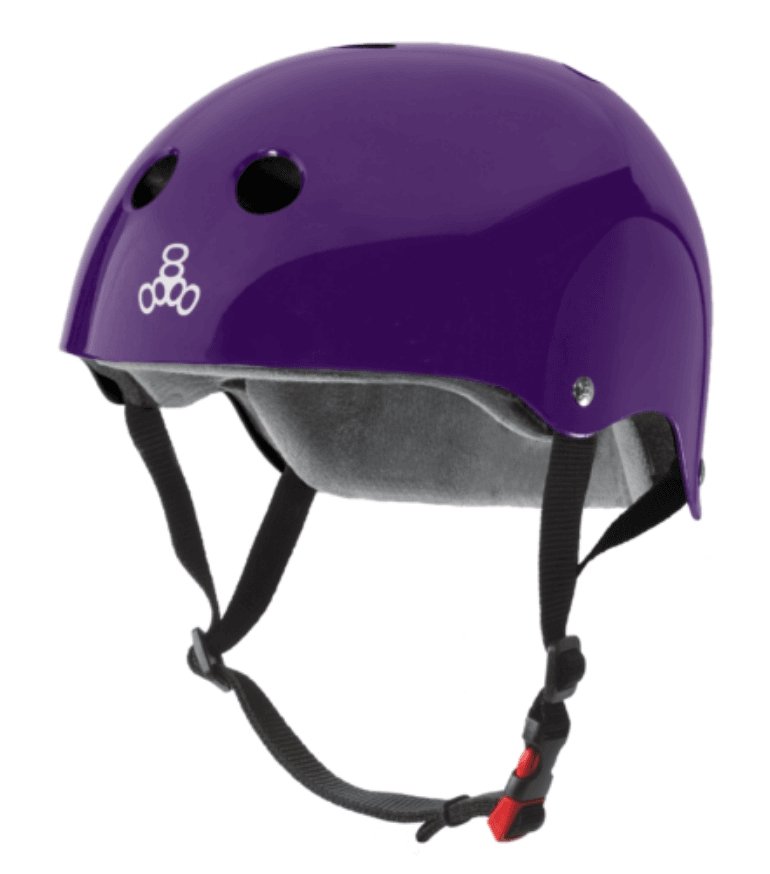
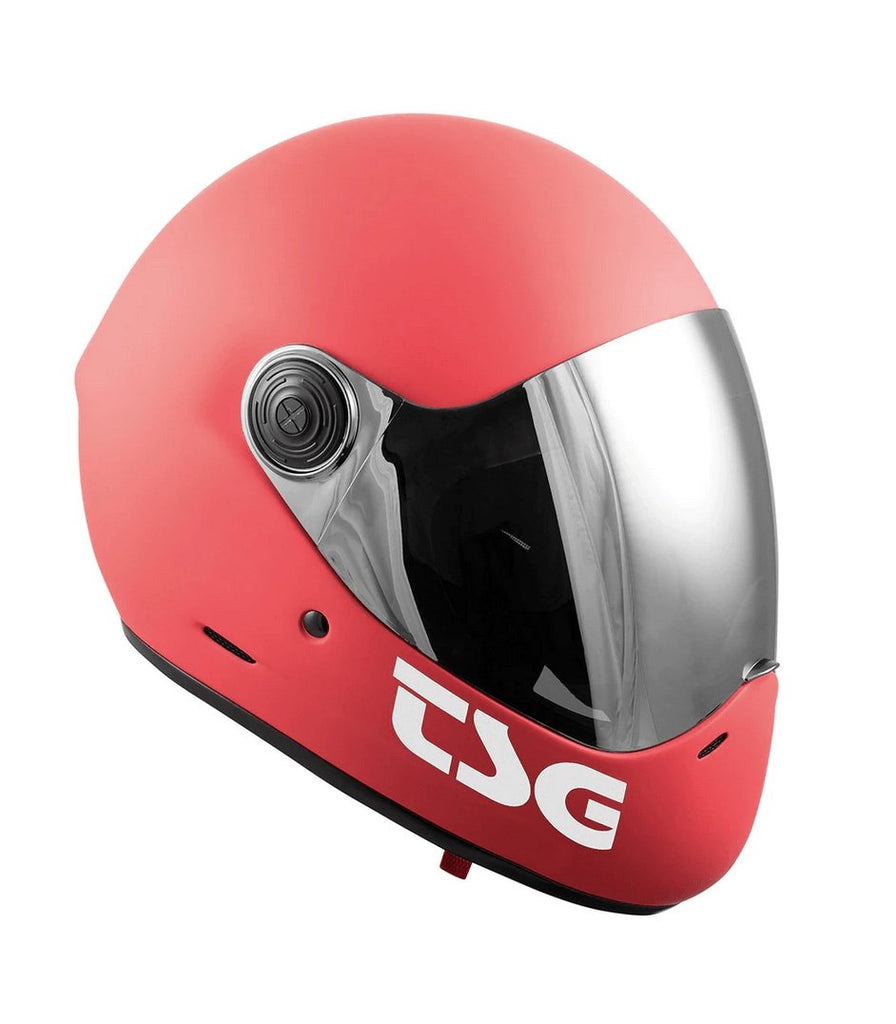
Choosing a Helmet
As far as a helmet goes, anything will be better than nothing. A bike helmet, a football helmet and a paragliding helmet have all been used around here, but we prefer The 187 Pro Skate Helmet. Some states require that all helmets be CPSC certified, so if yours is one of these states, be sure to find the CPSC seal of approval.
Click on a product to see more details.
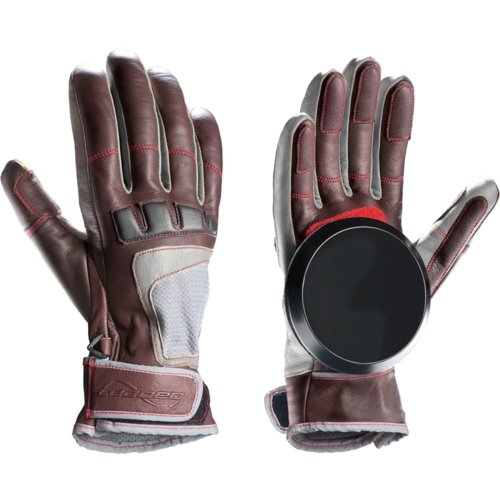
Choosing Slide Gloves
Slide gloves come in many shapes and sizes, but as long as you’ve got a palm puck (preferrably made of UHMW, Delrin or another high-quality plastic) and the gloves fit well, you’re on the right track. Many gloves feature finger pucks for those riders who like to drag their fingers while they ride. Whether or not your gloves have them is up to you. (We don’t use them because we like to grab our boards without worrying about the extra pucks.) Lastly, having a leather glove (like the Sector 9 Driver Gloves) is an advantage if: you think you’re going to be falling a lot and/or if you skate in cold weather. They’ll protect your hands and keep them warm. If you skate in warm weather, grab some gloves with a mesh backing like the Sector 9 BHNC Gloves.
Click on a product to see more details.

Choosing Knee Pads
Although we don’t really want to fall to our knees, it does happen from time to time. And it’s better to fall to your knees than your face, right? I think so, too. If you want to protect your knees without a lot of kneepad, grab The 187’s Fly Knee Pads. If you think you’d be more comfortable having more protection on your knees, The 187’s Pro Knee Pads offer extra padding and a removable knee cap in case you wear through the first one. There are also some knee gaskets on the market from Smith called “Scabs”. The Scabs will protect your knees from bumps, but they don’t have a plastic cap. This makes them nice to wear under pants (or under Fly Knee Pads), but not so nice if you’re planning on doing some knee slides.
Click on a product to see more details.
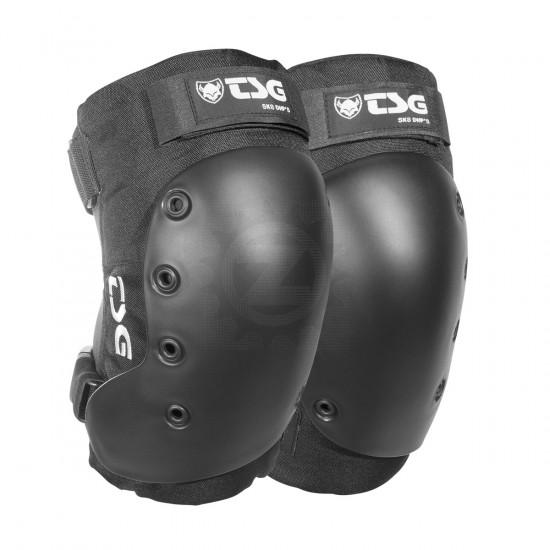
Designed by Downhill World Champion Kevin Reimer, the TSG Sk8 DHP Knee Pads are the latest tec...
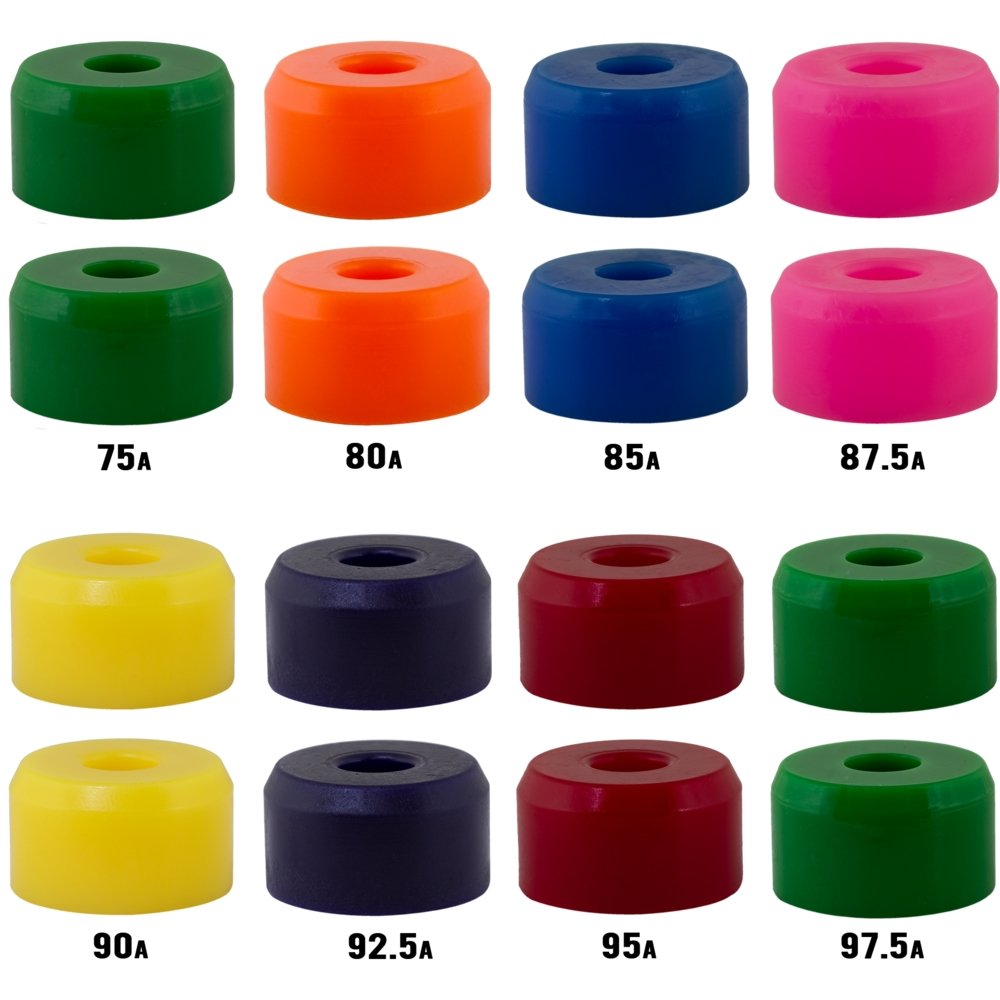
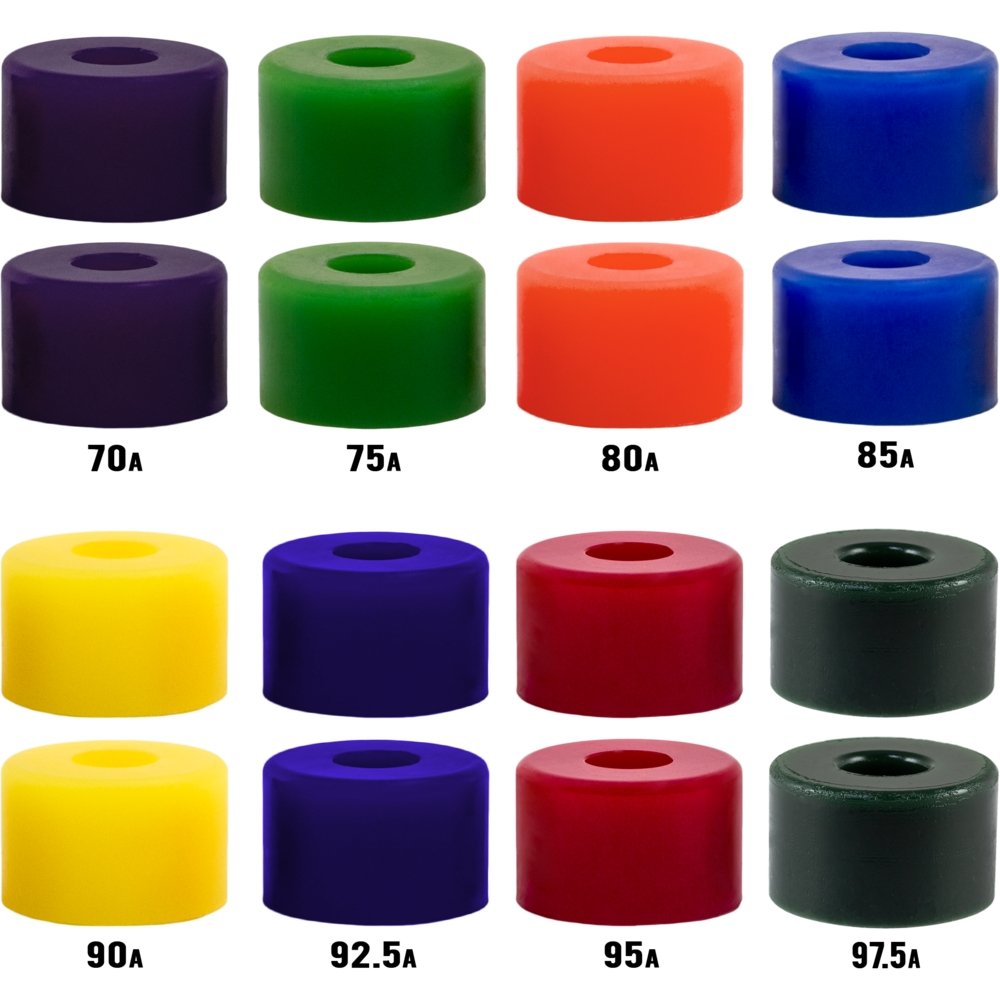
2. Choosing Bushings
Bushings will serve as the next step in fine-tuning your freeride setup. If you’re just starting out, the stock bushings will work just fine to get you started. The world of bushings can be a very complicated thing since there are a large number of factors to consider. Truck design, board flex, personal preference and rider weight all play a part in selecting the right bushings for your freeride setup.
If you do decide that you want to upgrade the bushings (in your reverse kingpin trucks), here’s a quick and easy way to start off. Keep it simple and buy some Venom DH bushings in a durometer that corresponds to your weight.
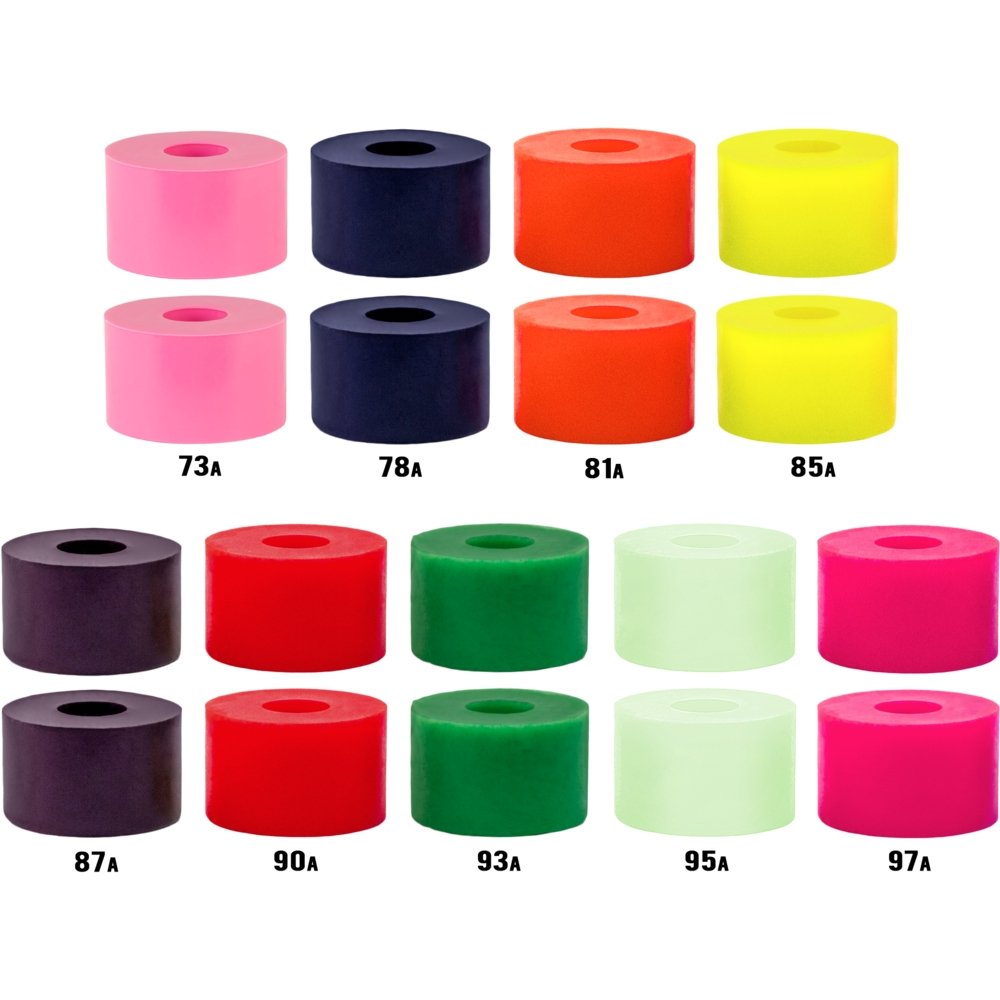
Here’s a little durometer chart that we think will help. (Keep in mind that this is acceptable for the type of freeride setup we recommend in this setup guide: a low, stiff deck with reverse kingpin trucks.)
50-100 lbs: 73-80a
75-125 lbs: 78-82a
100-145 lbs: 80-85a
125-175 lbs: 80-87a
145-195 lbs: 82-90a
175-220 lbs: 85-93a
200-250 lbs: 90-93a
225 lbs and up: 90-97a
This will get you started, but be prepared to play around with the setup until you find out what will work best for you. In the end it comes down to preference, so what we suggest may not be your “ideal” setup. It just takes a lot of riding to figure out your personal preference.
Click on a product to see more details.
Note: "Quantity: 1" is enough for one truck. Buy TWO (2) packs for your complete longboard! Wh...
Quantity 1 = 2 bushings which is enough for 1 truck. Order quantity 2 for a complete longboard...
Quantity 1 = 2 bushings which is enough for 1 truck. Order quantity 2 for a complete longboard...
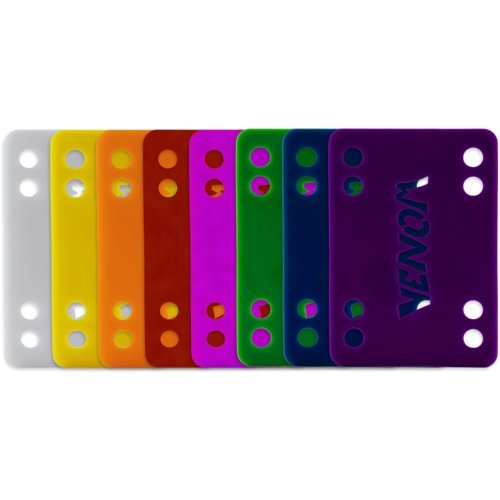
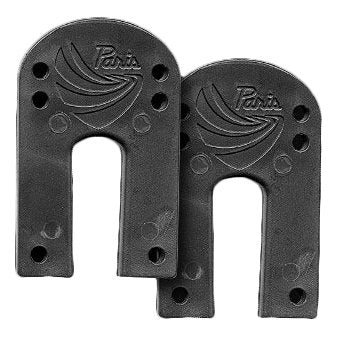
3. Choosing Risers
Risers (or shock pads more specifically) will help protect your deck from unwanted wear-and-tear due to the trucks rubbing and slamming against the deck. We recommend using a set of ⅛” Khiro Shock Pad for drop platform decks and a set of ⅛” Khiro Drop Through Shock Absorbing Strips for drop-through decks. In both cases, these shock absorbing pads will go between the truck’s baseplate and the deck, although in a different style. For the drop platform deck, the shock pads sit between the bottom of the longboard deck and the top side (when mounted properly) of the truck. For the drop-through deck, the shock strip will rest between the top of the longboard deck and the bottom side (when mounted properly) of the truck’s baseplate. If it sounds complicated, there’s no need to worry. When you’re buying a complete from MuirSkate.com, we’ll do all the installation for you. If you’re doing it yourself, you can find a video for assembling a drop through deck on our YouTube channel.
Click on a product to see more details.
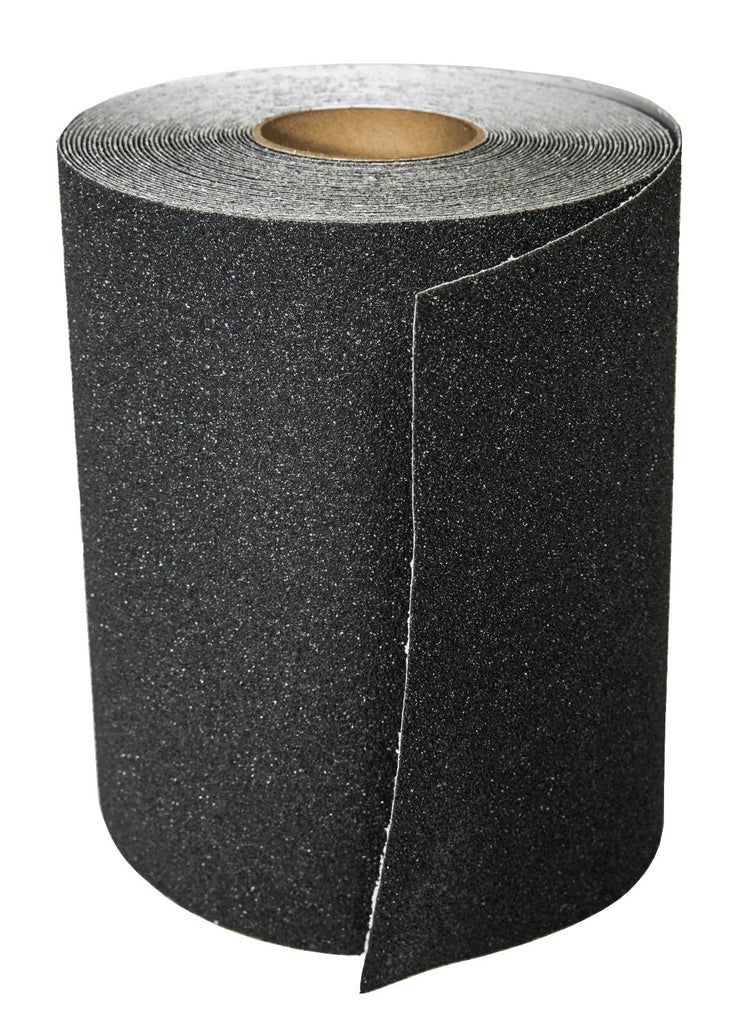
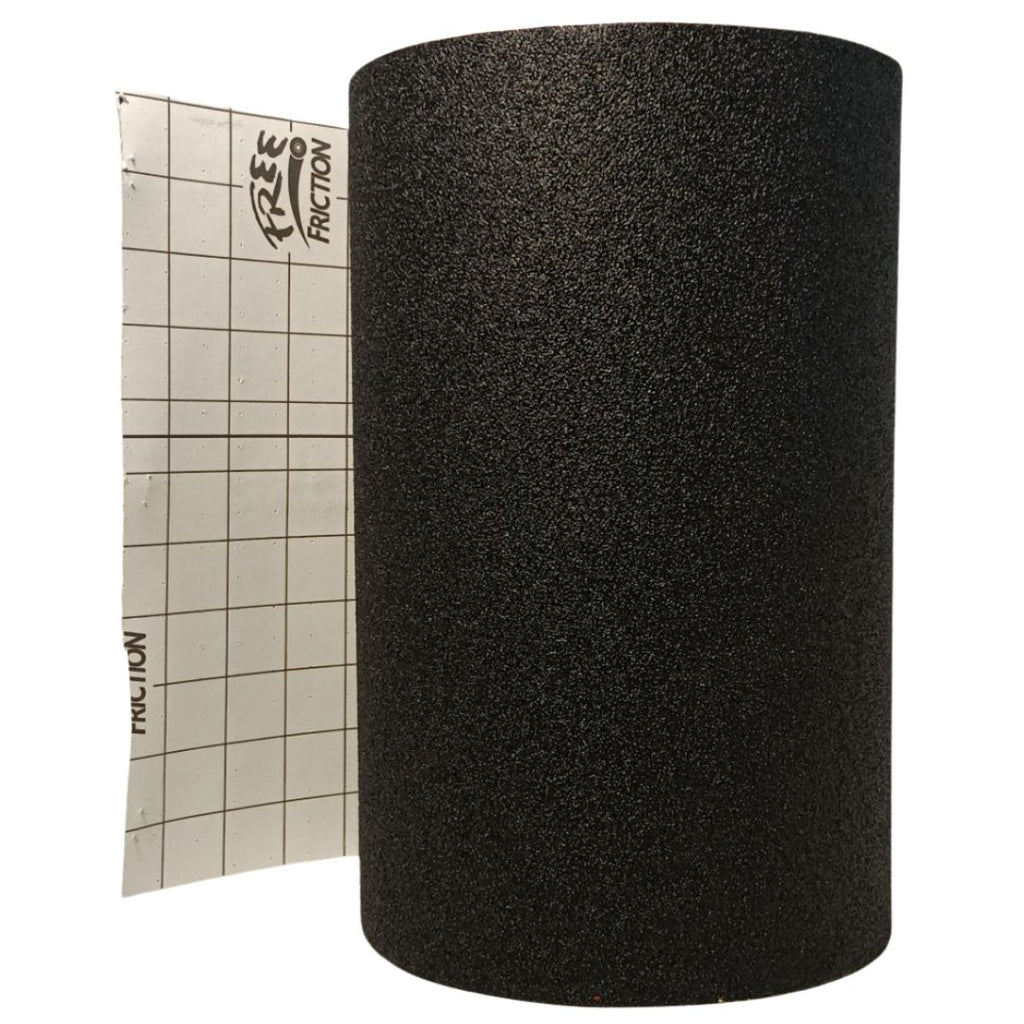
4. Choosing Grip Tape
Choosing the “right” kind of grip tape to adhere to the top of your freeride deck is one of the choices that comes down to personal preference. Some riders prefer to have their feet stuck to the board with Vicious Grip Tape, while others may want to have the ability to move their feet with ease so they may choose to go with standard Jessup grip tape. The “stock” grip on most longboards will be just fine to begin with. (For most of the boards we carry, this happens to be Jessup.) We do, however, recommend a slightly more coarse grip for the times when you want to start riding larger hills. Vicious, Edger and Jessup Super Coarse are doing the trick for us at this time.
Click on a product to see more details.